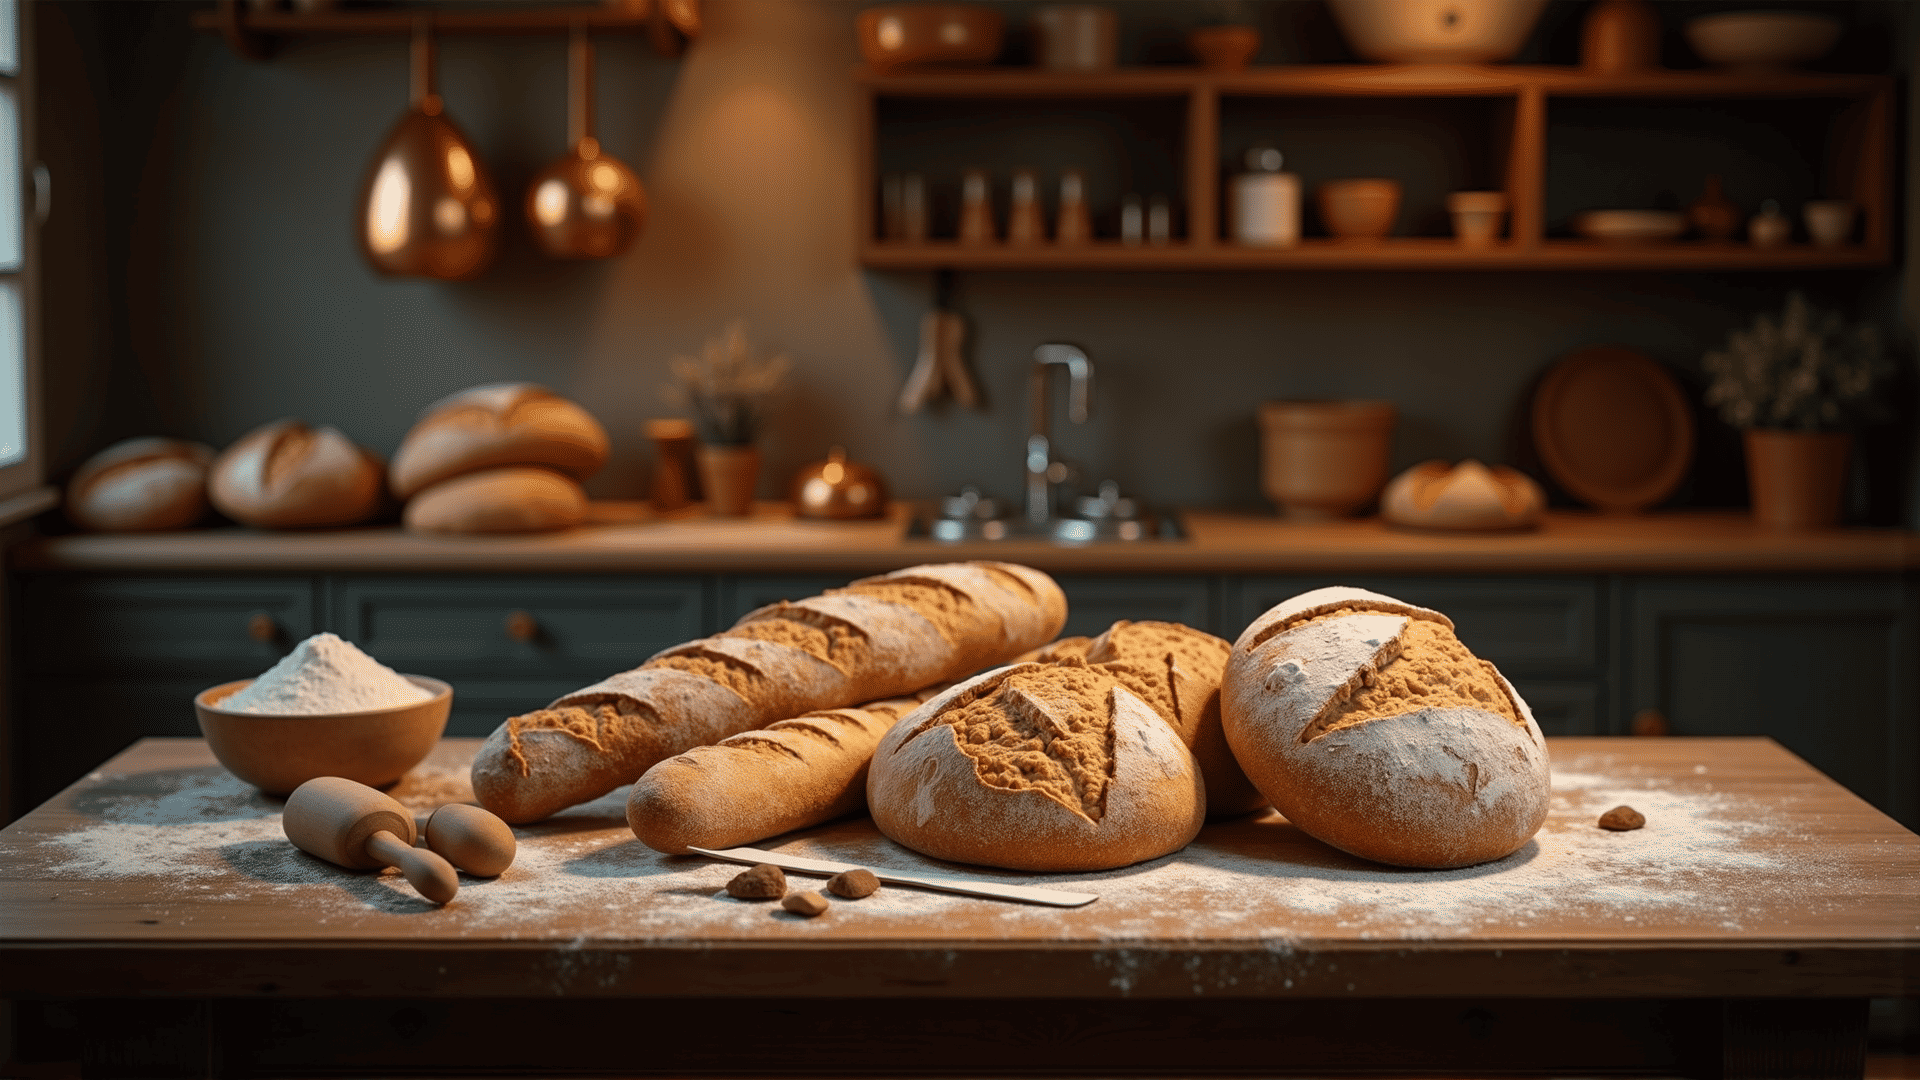
Baking bread from scratch is an art that combines precision, patience, and creativity. Whether you are venturing into bread-making for the first time or are a seasoned baker looking to refine your skills, the journey to the perfect loaf is a rewarding endeavor. Here, we share expert tips and techniques to help you master this timeless craft, transforming simple ingredients into a delicious and satisfying staple.
Understanding the Basics
Before diving into the dough, it’s essential to understand the basic ingredients of bread: flour, water, yeast, and salt. Each component plays a vital role. Flour provides the structure, yeast is responsible for fermentation and rising, water hydrates the flour to activate the gluten network, and salt not only enhances flavor but also tightens the gluten strands for structure.
Selecting the right flour is crucial. Bread flour, with its higher protein content, is typically recommended as it enables better gluten formation, yielding bread with a good rise and chewy texture. However, experimenting with whole wheat or rye flour can impart different flavors and textures, adding depth to your baking.
Perfecting Your Technique
1. Activating Yeast Properly:
- Using active dry yeast requires dissolving it in warm water (not hot, as this can kill the yeast) with a pinch of sugar to see if it foams up, signaling that it’s alive. Instant yeast, on the other hand, can be mixed directly with the dry ingredients.
2. Kneading:
- Kneading is a crucial process that develops the gluten network. It’s important to knead until the dough is smooth and elastic. This can take 10-15 minutes by hand or about 8 minutes using a stand mixer with a dough hook. The windowpane test can help; stretch a small piece of dough gently with your fingers—if it doesn’t tear and is translucent, it’s ready.
3. Fermentation:
- Allow the dough to rise in a warm, draft-free environment. This first rise, or bulk fermentation, is essential for flavor development. Ideally, the dough should double in size. Keep an eye on the dough rather than the clock, as rising times can vary depending on temperature and humidity.
Advanced Techniques
Once you have a handle on the basics, you can explore more advanced techniques to elevate your bread-making skills.
1. Autolyse:
- This technique involves mixing flour and water and letting it rest before adding yeast and salt. This rest period allows enzymes to break down proteins, aiding in gluten development and resulting in a more extensible dough.
2. Stretch and Fold:
- Instead of traditional kneading, this method involves gently stretching and folding the dough at intervals during the first rise. This technique can create a more open crumb structure, perfect for artisan-style breads.
3. Cold Fermentation:
- After shaping the dough, allowing it to ferment in the refrigerator overnight enhances flavor complexity and can improve dough handling.
Troubleshooting Common Issues
Even experienced bakers face challenges. Here are solutions to common problems:
- Dense Loaves: Often caused by under-proofing or insufficient gluten development. Ensure the dough rises adequately, and try kneading a bit longer.
- Poor Rise: Could be due to inactive yeast or a cold rising environment. Check the yeast for freshness and proof in a warmer area.
- Flatbread: Over-proofing or a poor gluten network may lead to deflated loaves. Keep an eye on the dough during the final rise and practice proper kneading.
Embracing Creativity
Once you are comfortable with basic recipes, let creativity lead your baking adventures. Try incorporating seeds, herbs, cheese, or dried fruits to craft unique loaves that reflect your culinary personality. Each loaf becomes a canvas for exploration, and with each bake, you’ll gain more confidence and intuition.
Conclusion
The art of baking bread is as much about the journey as it is about the destination. By understanding the nuances of ingredients, perfecting techniques, and embracing the creative process, you can achieve the perfect loaf every time. So, gather your ingredients, dust off your apron, and embark on this delightful craft—one loaf at a time. Happy baking!